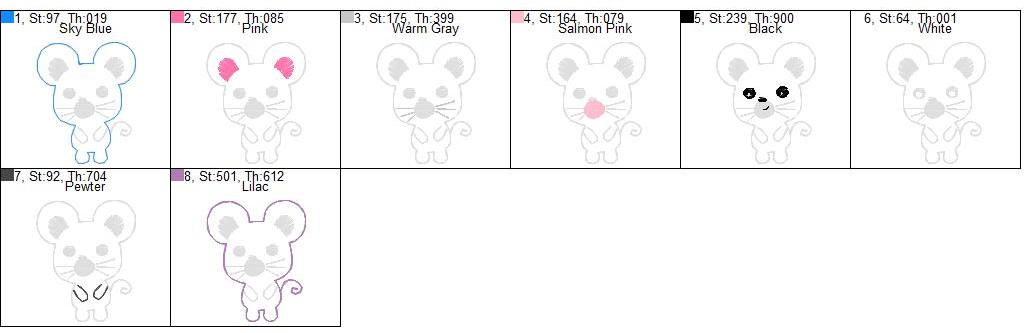
This is how the majority of my feltie files are stitched. Some of my designs add the felt to the back of the hoop before the last step. I always include a PDF in my files that include the stitch chart and written instructions.
When I refer to color steps in my instructions, I am referring to the steps shown here in the color chart.
1) Hoop tearaway stabilizer.
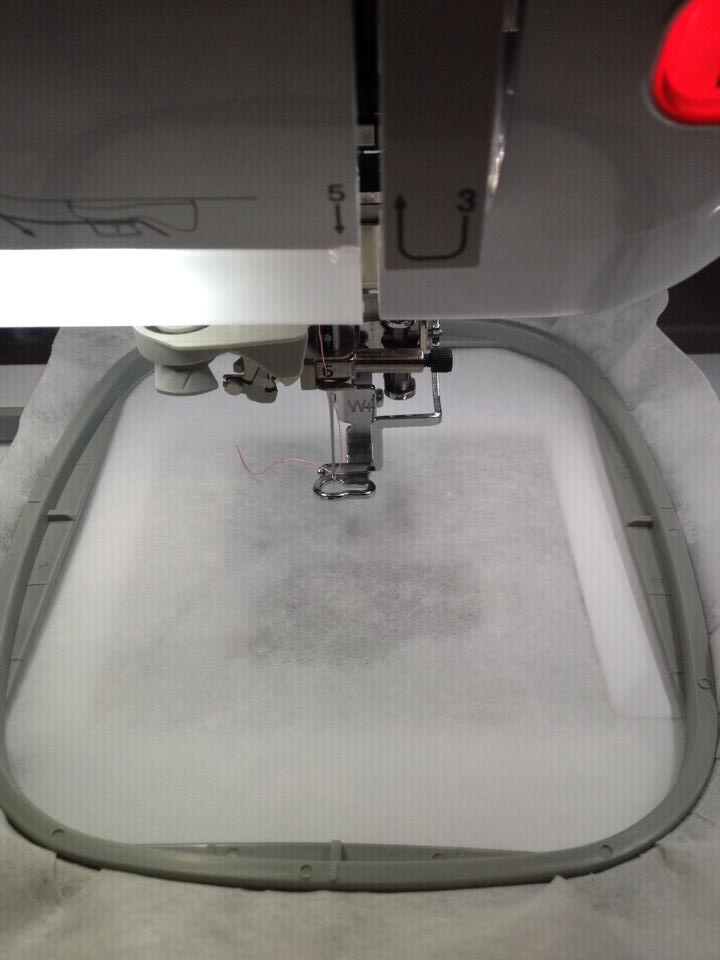
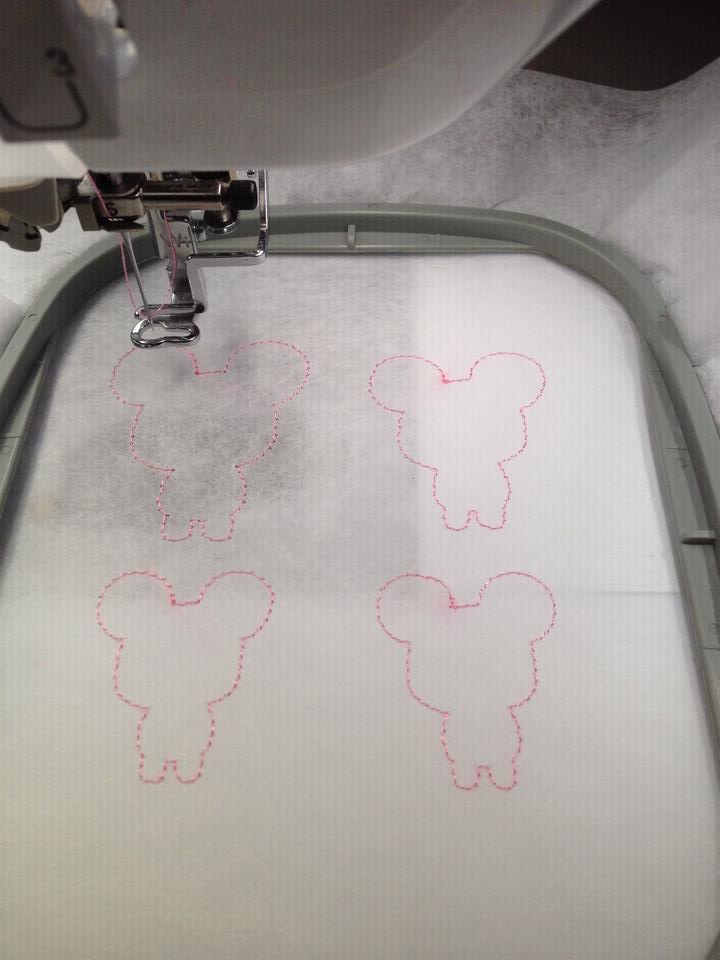
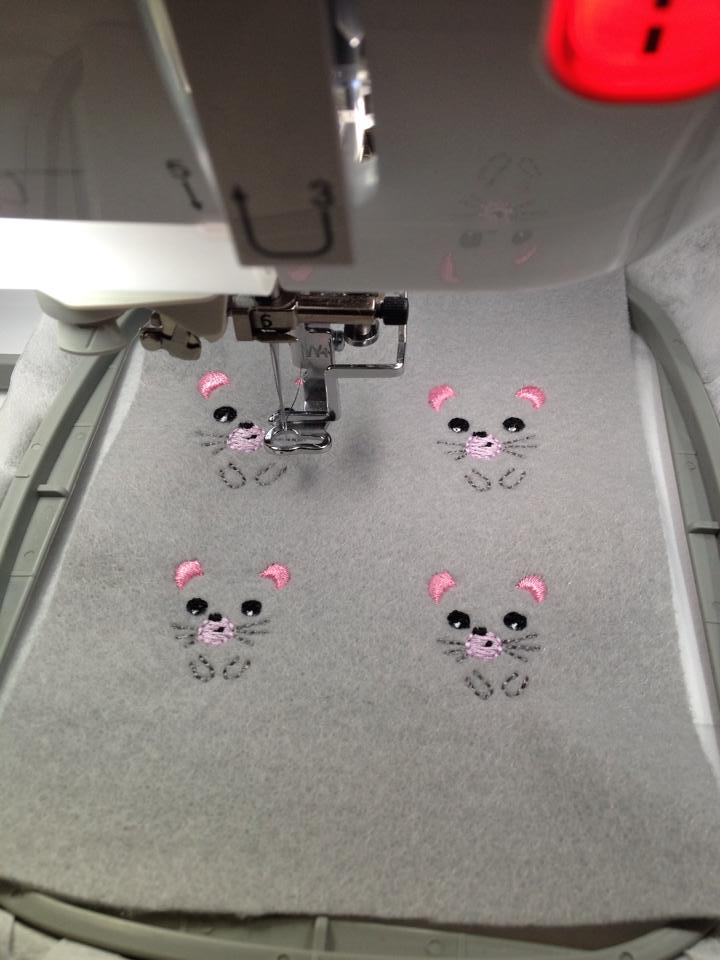
2) Stitch color step 1, the placement stitch directly onto the stabilizer.
3)Place your felt on top of the placement stitches.
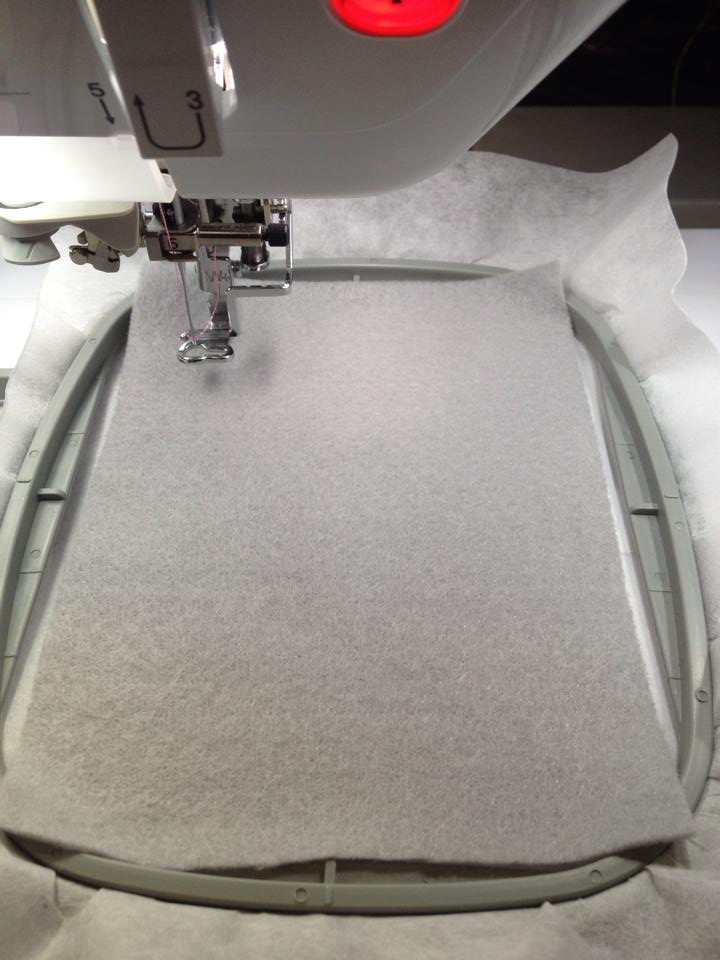
4) Stitch color steps 2-7, the detail steps. (The number of steps will vary greatly with each design.)
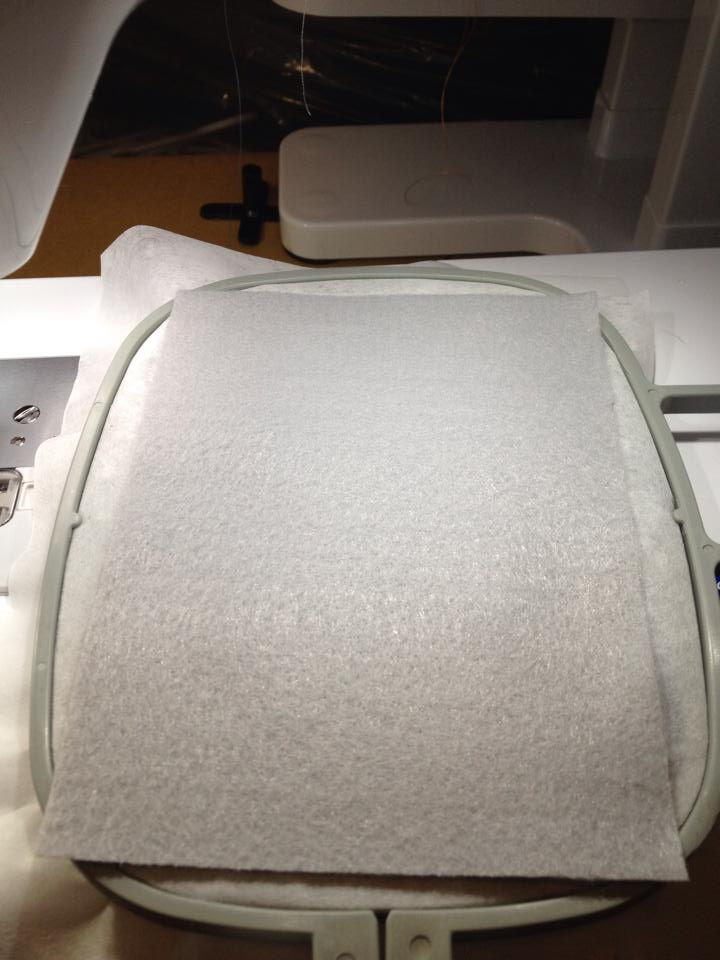
5) Take the hoop off of your machine and place a piece of felt on the backside of your hoop. Use a touch of temporary adhesive spray or tape along the edges to keep the felt from falling off.
6) Place your hoop back on the machine and stitch color step 8, the final outline. (With some designs this is the last 2 or 3 steps.) Take out of the hoop and cut the cute feltie out!
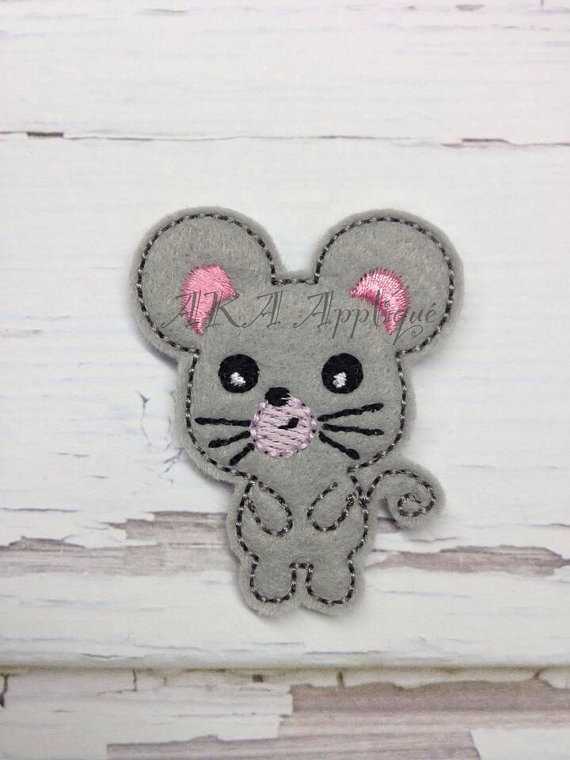
Mollie Mouse can be purchased here: http://www.akaapplique.com/shop/molly-mouse-feltie-embroidery-design/